|
Setup Transporter |
  
|
| Show/Hide Hidden Text |
|
Setup Transporter |
|
| Show/Hide Hidden Text |
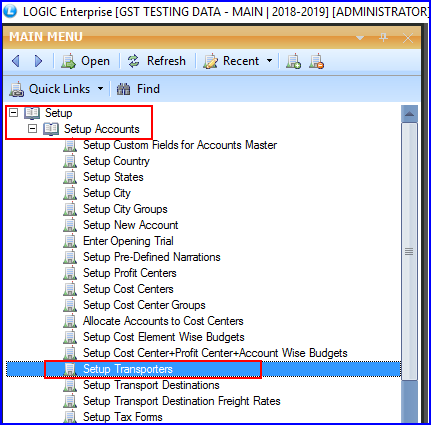
![]() Click on Setup Transporter to enter the details of your transporter.
Click on Setup Transporter to enter the details of your transporter.
Setup Transporter: Main Menu > Setup > Setup Accounts > Setup Transporter
Fig.1 Main Menu
|
![]() A new window will appear on your screen.
A new window will appear on your screen.
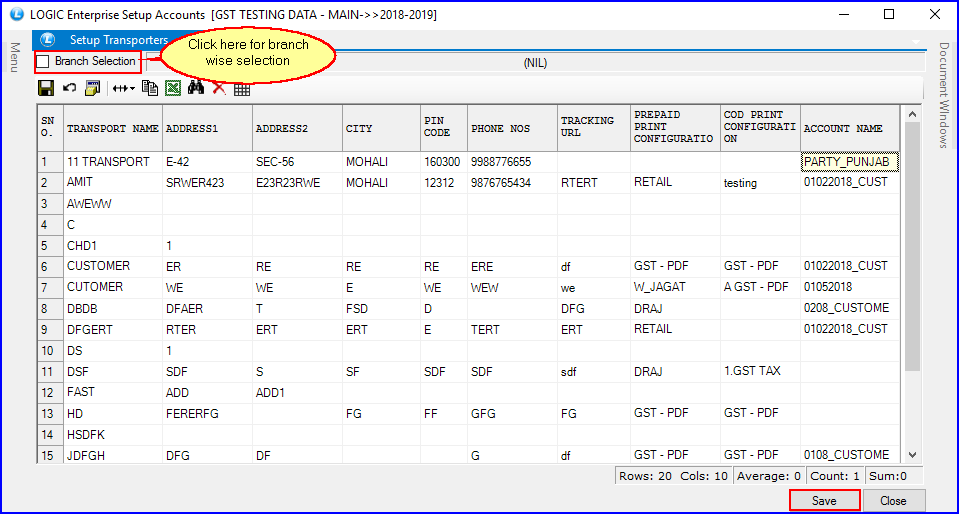
Fig.2 Setup Transporters
![]() Enter details like Transporter Name, Address, City, Phone Number, Email Id and Account Name.
Enter details like Transporter Name, Address, City, Phone Number, Email Id and Account Name.
![]() Account Name: Hit space bar. Account search list will appear on your screen. Select the account.
Account Name: Hit space bar. Account search list will appear on your screen. Select the account.

Fig.3 Select Account Name
|
1) To save the data entered by the user, user have to press enter button and the cursor should be on next line in the grid.
2) It is mandatory to link Account Name. |
How to Link Account Name to Transport Name?
Main Menu> Setup> Setup Accounts
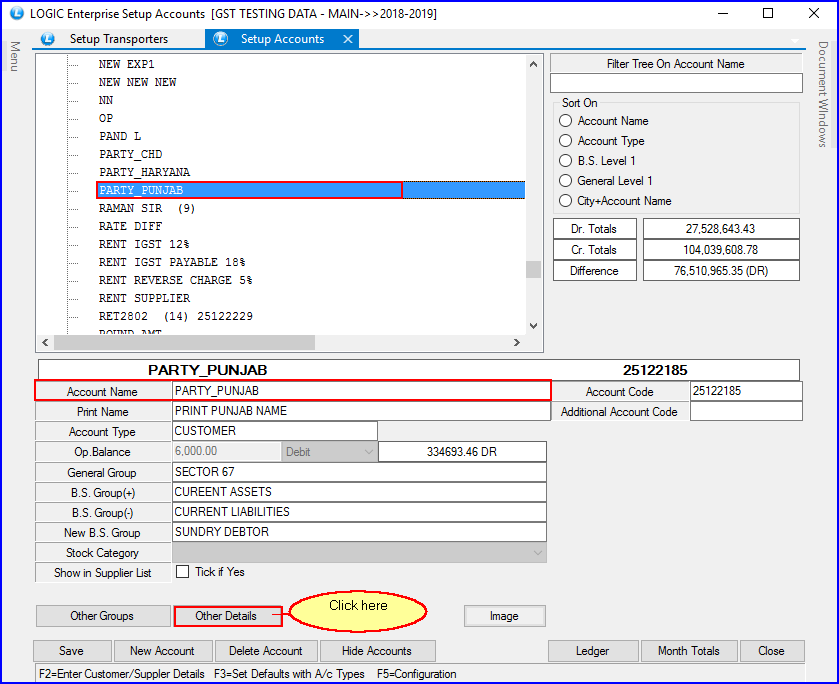
Fig.4 Setup Accounts
![]() Click on Other Details.
Click on Other Details.
![]() A new screen will appear on your screen. Enter GST No. It will be your Transaction Id. (In Case of Registered GST).
A new screen will appear on your screen. Enter GST No. It will be your Transaction Id. (In Case of Registered GST).
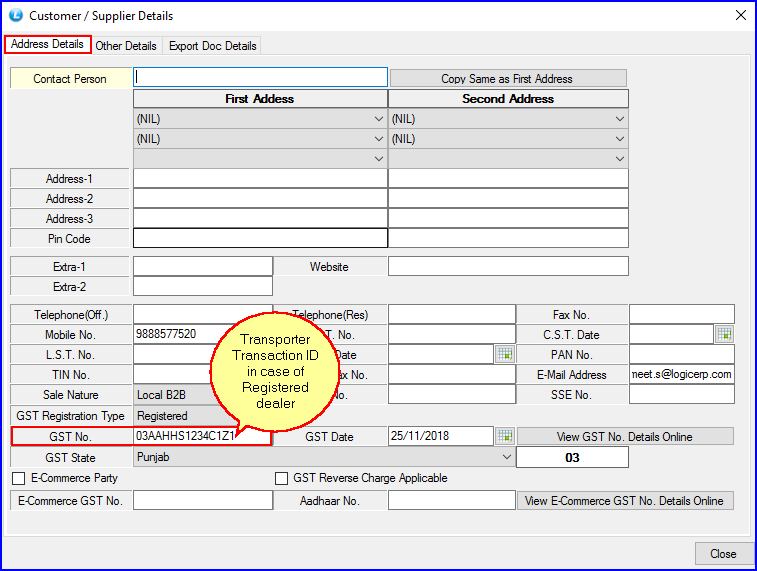
Fig.5 Transaction Id
![]() (In Case of Non-Registered GST user) Click on Export Doc Details from the tab. Enter Buyer Reference Number.
(In Case of Non-Registered GST user) Click on Export Doc Details from the tab. Enter Buyer Reference Number.
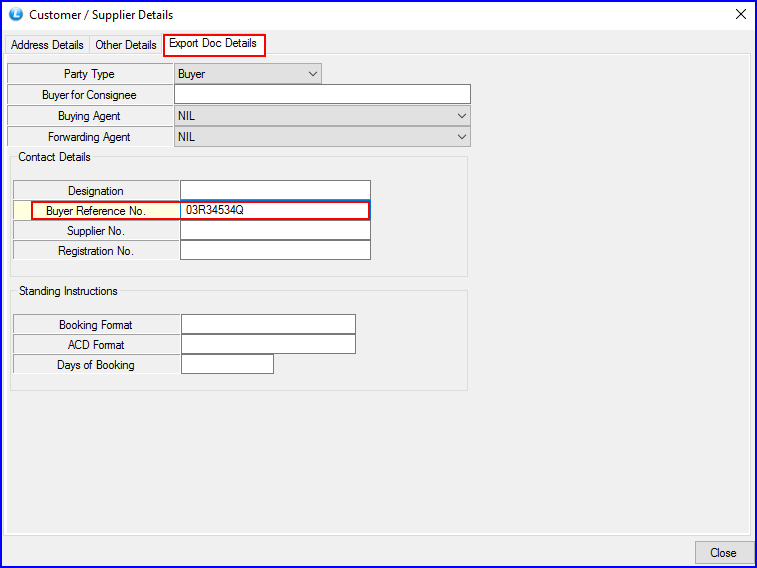
Fig.6 Buyer Reference No.
![]() Click on 'Save' button.
Click on 'Save' button.
Buttons
There are two Buttons available in the bottom of the Grid, Save Button and Close Button:
![]() Save Button: Click to Save the changes.
Save Button: Click to Save the changes.
![]() Close Button: Click to Close.
Close Button: Click to Close.