|
Adding Report |
  
|
| Show/Hide Hidden Text |
|
Adding Report |
|
| Show/Hide Hidden Text |
![]() Now, let us assume that you want to configure Sale Register Detailed Report, which is in the following format:
Now, let us assume that you want to configure Sale Register Detailed Report, which is in the following format:
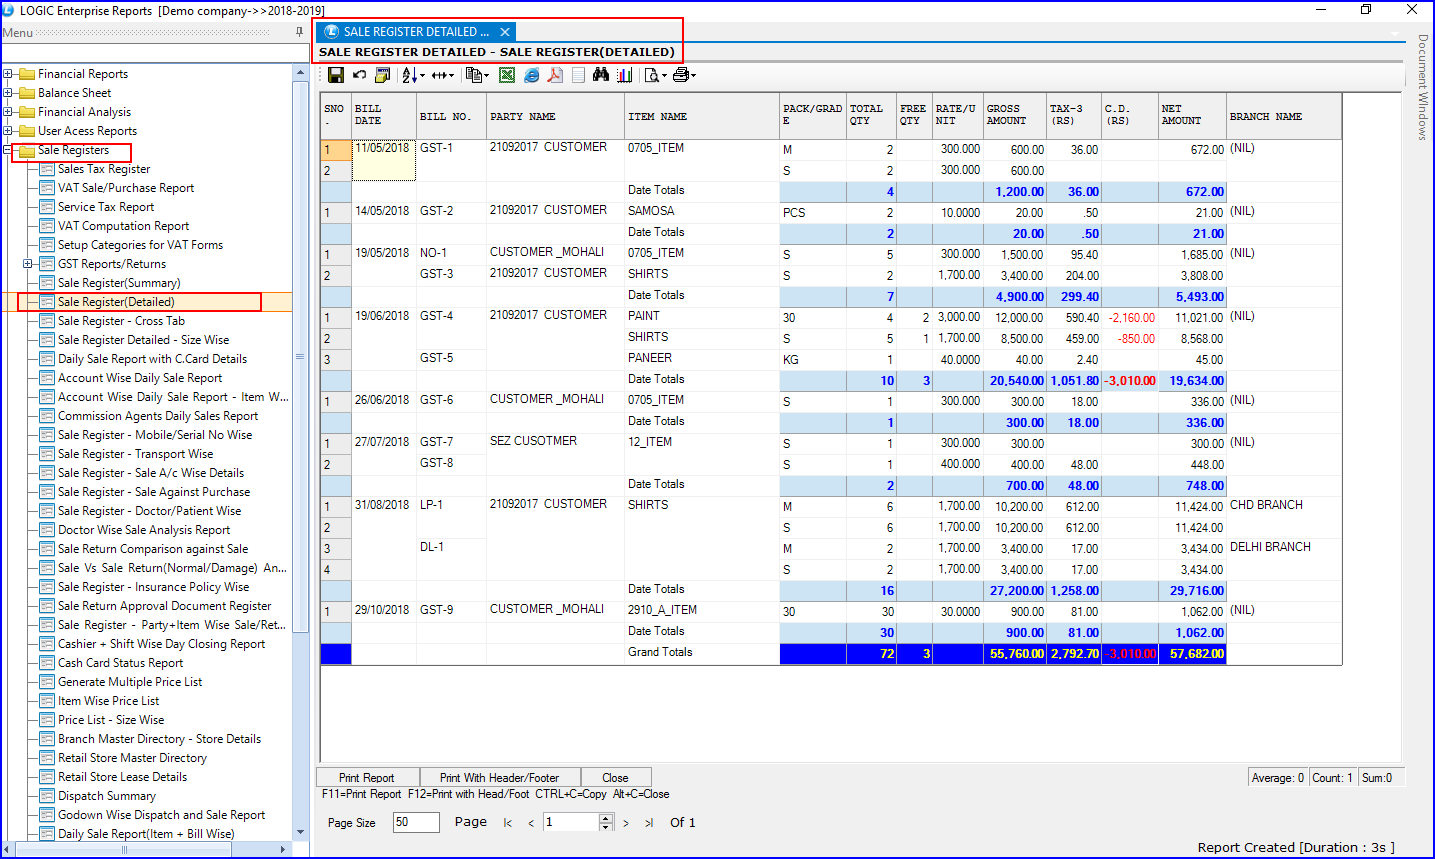
Fig.1 Sale Register Detailed
Add Report
To add report in the report group you created in Setup Report Group, follow the given steps:
![]() Right-click on the report group and select Add Report option.
Right-click on the report group and select Add Report option.
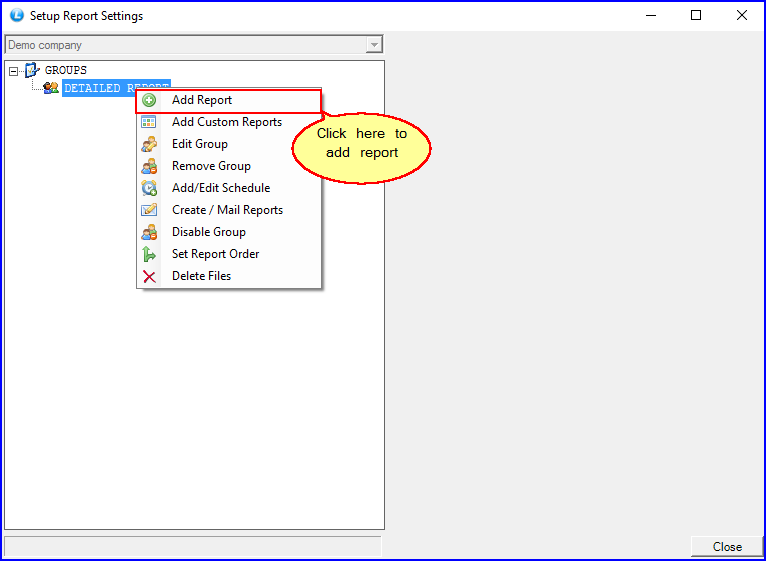
Fig.2 Add Report
![]() Now, select the Sale Register(Detailed) option from the List For Available Reports. Add the sale register detailed report by clicking on Add button.
Now, select the Sale Register(Detailed) option from the List For Available Reports. Add the sale register detailed report by clicking on Add button.
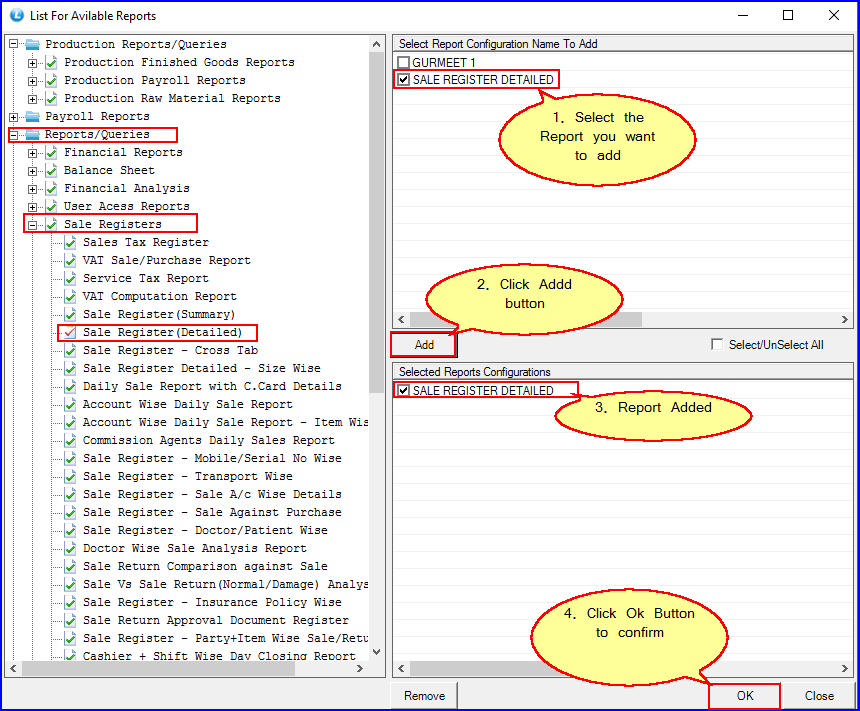
Fig.3 List for Available-Reports
|
Try to avoid using special characters in your report name. |
![]() Click on OK button.
Click on OK button.
Report Configuration
![]() Click the report you added. A report configuration form will appear.
Click the report you added. A report configuration form will appear.
![]() Specify the starting date and ending date of the report.
Specify the starting date and ending date of the report.
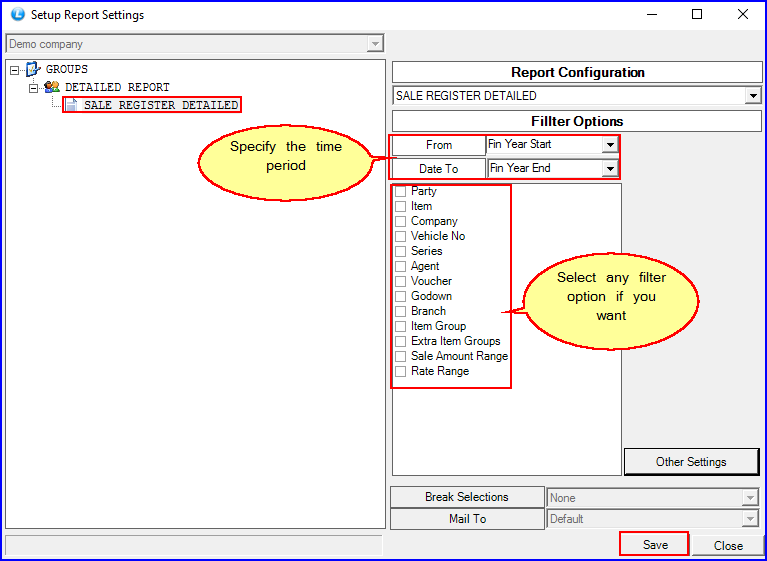
Fig.4 Report Configuration
![]() Click on Save Button.
Click on Save Button.
Report-Group Options
Right-Click on report-group and multiple options will appear as shown in the figure below:
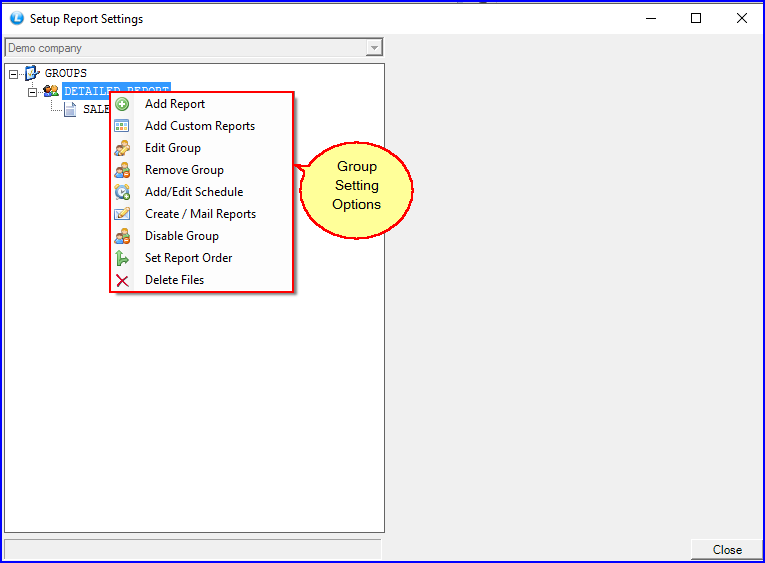
Fig.5 Report-Group Options
![]() Add Report: Use this option to add new report.
Add Report: Use this option to add new report.
![]() Edit Group: You can edit group details using this option.
Edit Group: You can edit group details using this option.
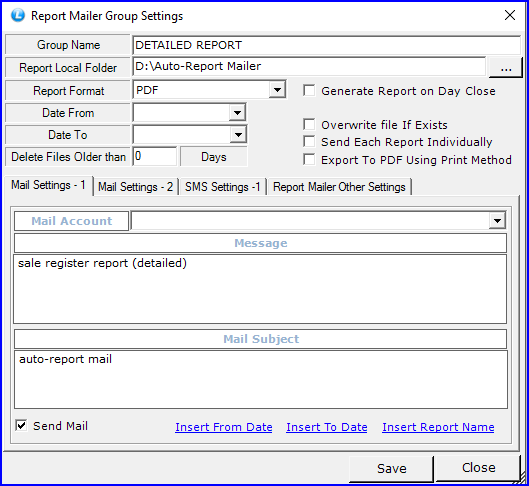
Fig.6 Edit Report
![]() Remove Group: Click this option to remove the group.
Remove Group: Click this option to remove the group.

Fig.7 Remove Group
![]() Add/Edit Schedule: You can schedule the time and occurrence details of the report. Either you can add the specific time or time interval, or you can justify the occurrence detail on daily, weekly or according to specific days.
Add/Edit Schedule: You can schedule the time and occurrence details of the report. Either you can add the specific time or time interval, or you can justify the occurrence detail on daily, weekly or according to specific days.
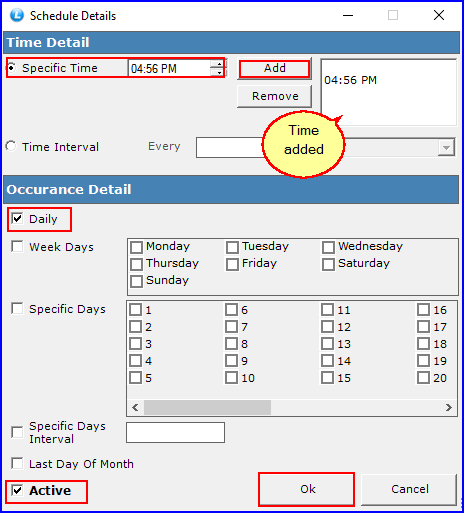
Fig.8 Schedule Detail
![]() Create/Mail Reports: This option option enables you to create and mail multiple reports at a time.
Create/Mail Reports: This option option enables you to create and mail multiple reports at a time.
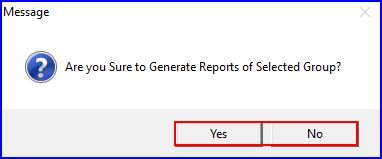
Fig.9 Create/Mail Reports
![]() Disable Group: This option will disable the currently selected group.
Disable Group: This option will disable the currently selected group.
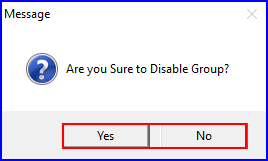
Fig.10 Disable Group
![]() Set Report Order: If you have multiple reports, you can set their order by clicking the arrows.
Set Report Order: If you have multiple reports, you can set their order by clicking the arrows.
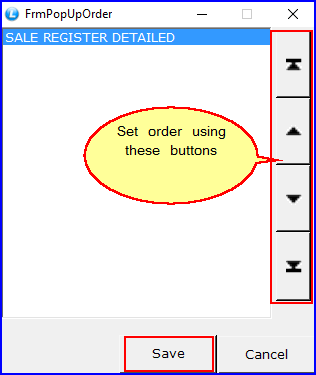
Fig.11 Set Report Order
![]() Delete Files: Click this option to delete the report files you created.
Delete Files: Click this option to delete the report files you created.
Report Options
Right-Click on the report you added and multiple options will appear as shown in the figure below:
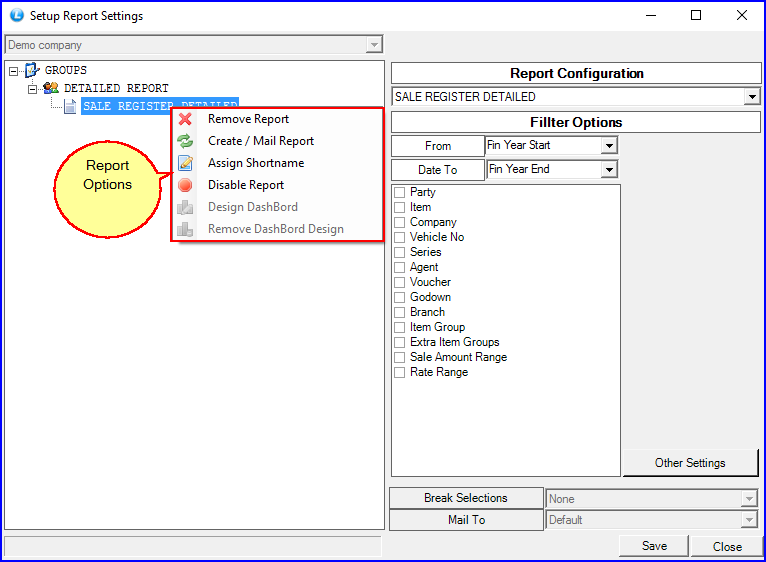
Fig.12 Report Options
![]() Remove Report: Click the button to remove the report from the group.
Remove Report: Click the button to remove the report from the group.
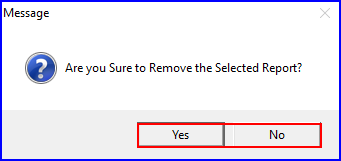
Fig.13 Remove Report
![]() Create/Mail Report: This option option enables you to create and mail a particular report on which you have right-clicked.
Create/Mail Report: This option option enables you to create and mail a particular report on which you have right-clicked.
Fig.14 Create/Mail Report
![]() Assign Shortname: You can assign a short-name to the report.
Assign Shortname: You can assign a short-name to the report.

Fig.15 Assign Short-name
![]() Disable Report: This option will disable the currently selected report.
Disable Report: This option will disable the currently selected report.
Fig.16 Disable Report