 The first step in Barcode Configuration is to go to Items Directory in the Main Menu.
 Main Menu

Fig 1. Main Menu
|
Printing Options
|
As the name states you are provided with a wide range of print options such as if you want to have a normal printing or compressed the numbers of columns you want in your print report.
Append one record for each unit implies to attach a report of conversion factor type with the purchase of each unit.
This option allows you to provide and print label in the bar code for the free units given in a transaction.
This option allows you to give a bar code to every unit purchased.
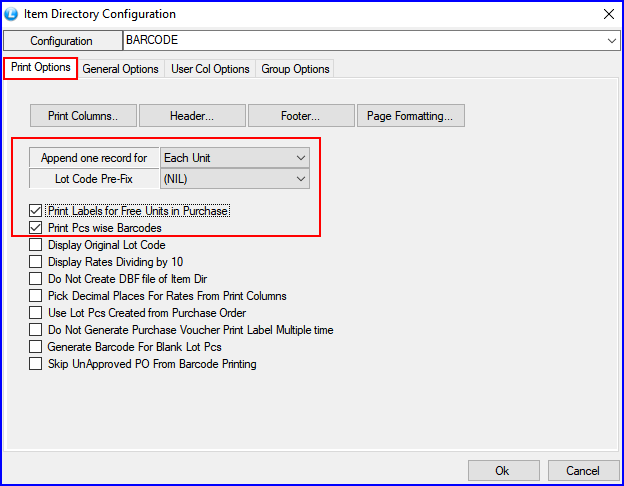
FIG 1. PRINT OPTIONS
|
General Options
|
Click on General option, select type of Label Printing as 12 cpi (Character Per Inches) for Logic Bar Code.
Select Logic Bar Code.Net from external software for Labels.
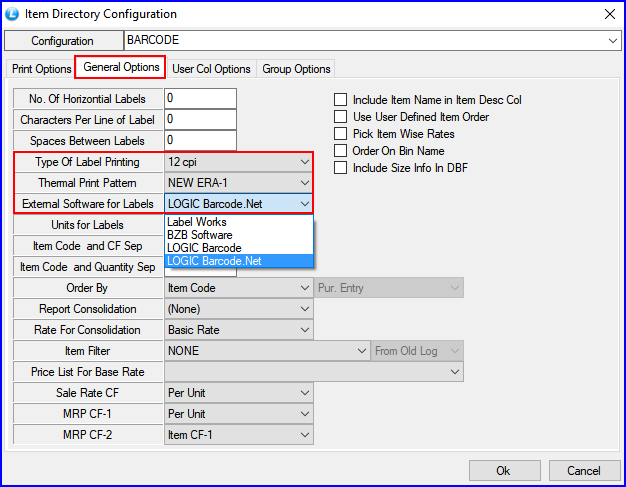
FIG 2. GENERAL OPTIONS
|
User Column Options
|
This option allows to set many changes in the bar code printing as per the user requirements. It gives you the option to choose the path to save your DBF report on your system.
If the user clicks on the drop down option in the option "Item Directory Path As" you can also set it to Default Path for the users convenience.
You can set the path for your DBF File from the option "File Name".
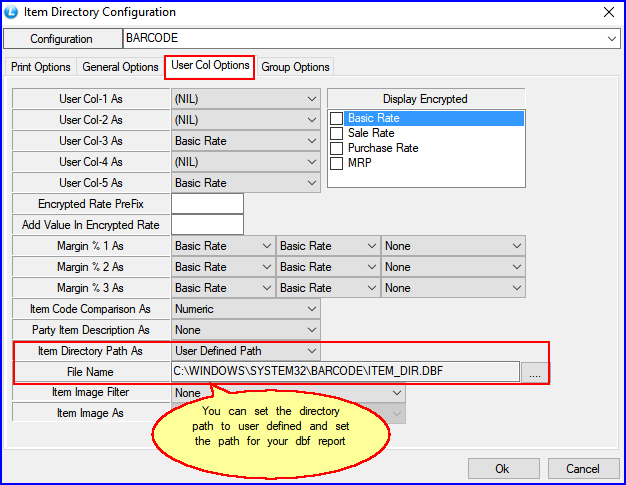
FIG 1. USER COLUMN OPTIONS
|
Back To Top


