|
Allocating & Deallocating Item Groups |
  
|
|
Allocating & Deallocating Item Groups |
|
To add the Items to newly created Group Right Click the mouse on the group. A small popup window will open which facilitates the user to Allocate Items or De-allocate items.
![]() In order to allocate items to the groups, select a group (under which you want to allocate the items).
In order to allocate items to the groups, select a group (under which you want to allocate the items).
![]() Then right click > select the Allocate Items/Groups from the popup menu or press Alt+A.
Then right click > select the Allocate Items/Groups from the popup menu or press Alt+A.
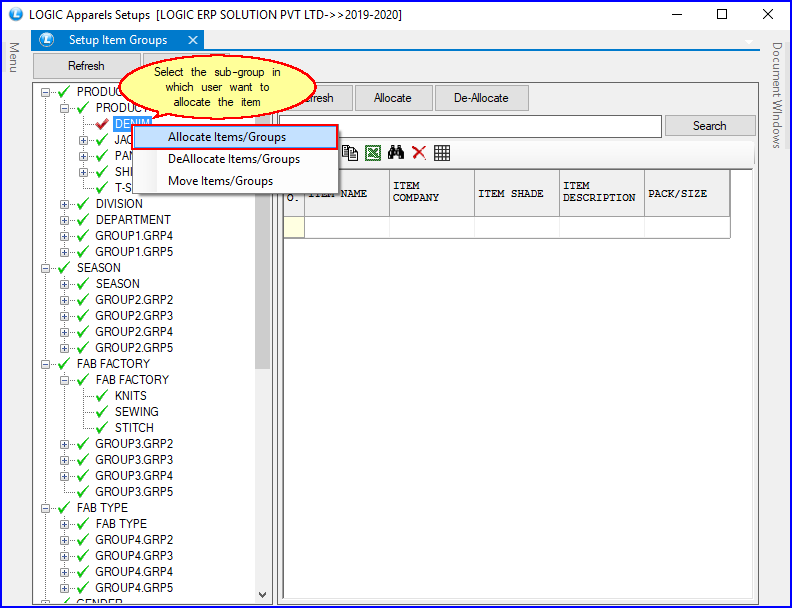
Fig 1. Setup Item Groups
![]() Item Selection Form dialog box appears select the required items and click OK.
Item Selection Form dialog box appears select the required items and click OK.
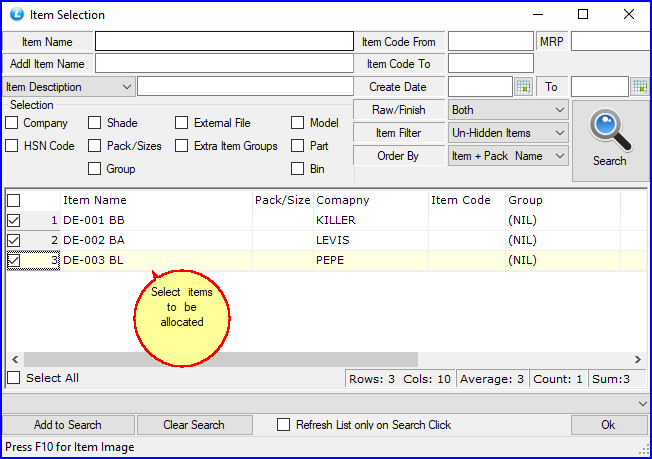
Fig 2. Item Selection
![]() After selection of the item, the item will come under the group as shown in the below given fig.
After selection of the item, the item will come under the group as shown in the below given fig.
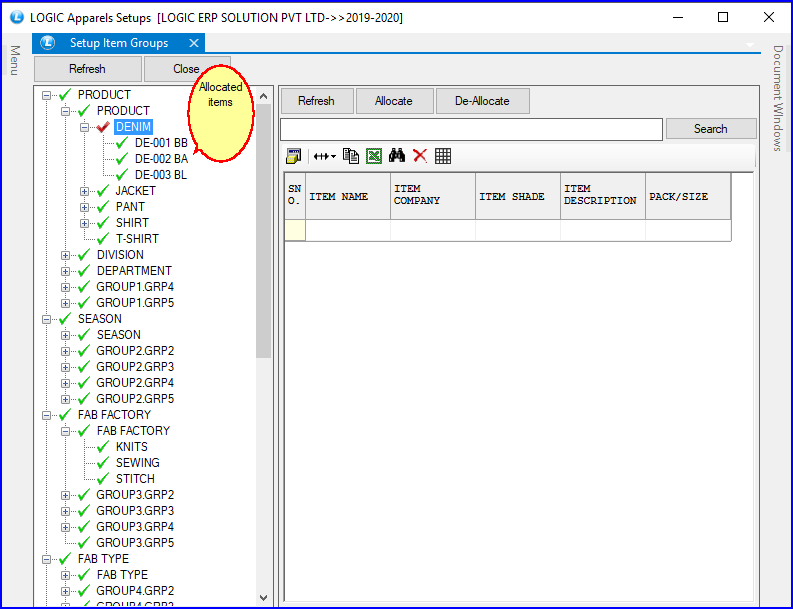
Fig 3. Setup Item Groups
![]() In order to deallocate items from the groups, select a group (from which you want to de-allocate items).
In order to deallocate items from the groups, select a group (from which you want to de-allocate items).
![]() Then right click > select the Delete Items from the popup menu or press Alt+D.
Then right click > select the Delete Items from the popup menu or press Alt+D.
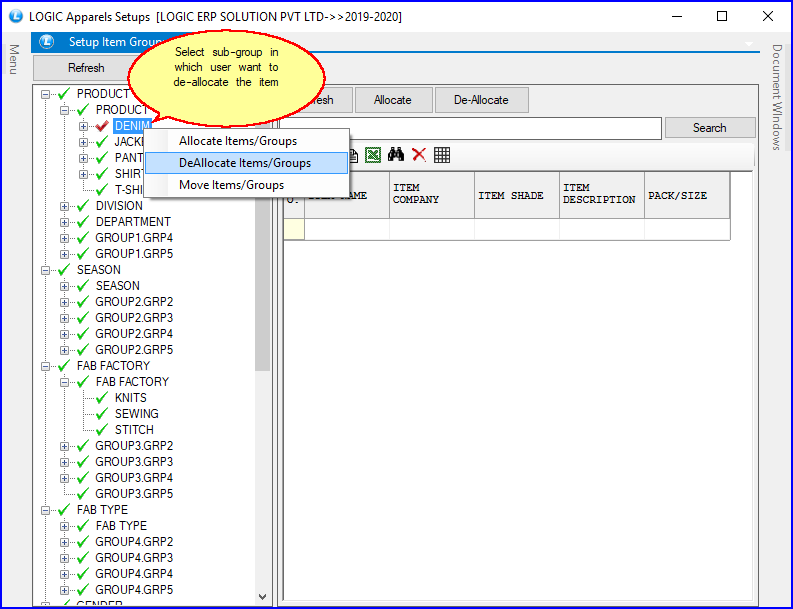
Fig 4. Setup Item Groups
![]() Item Selection Form dialog box appears select the required items and click ok.
Item Selection Form dialog box appears select the required items and click ok.
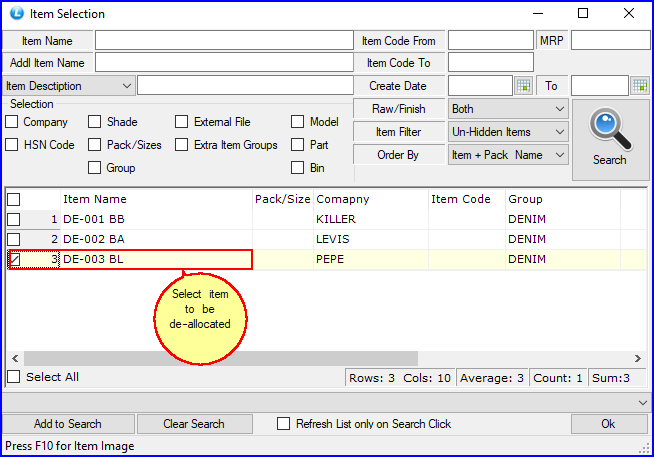
Fig 5. Item Selection