|
How to Design Sale Bill? |
  
|
| Show/Hide Hidden Text |
|
How to Design Sale Bill? |
|
| Show/Hide Hidden Text |
Example 1: Sample of a simple Sale Bill Design. See the Example below:
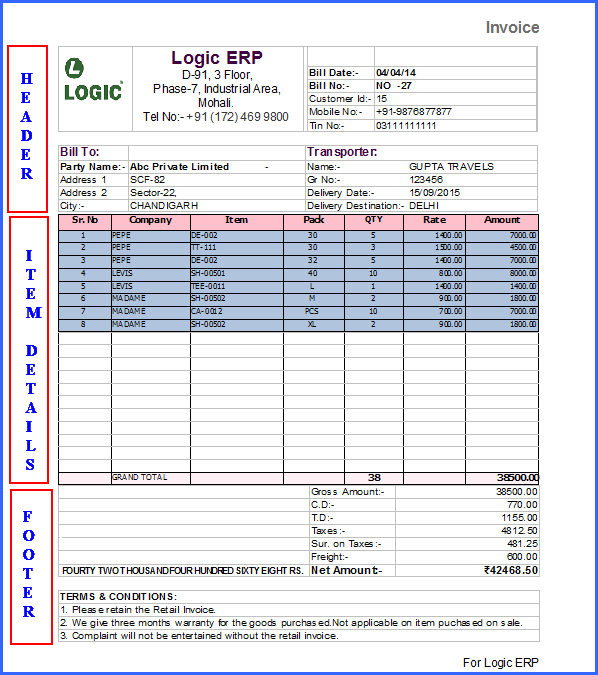
Fig 1. Sample Bill
Example 2: Sale Bill Design with the help of Bound Table Header, Table Footer and TXN TYPE. See the Sample below:
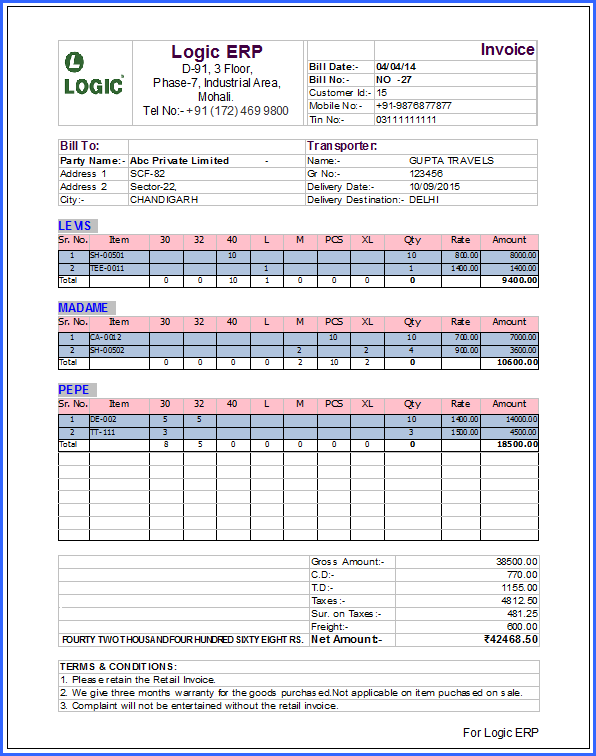
Fig 2. Sample Bill
Introduction
![]() Design could be viewed as an activity that translates an idea into a blueprint for something useful. Sale Bill Design is a process of designing the format of Sale Bill that you will give to your customers. You can design it by your own as per your requirement.
Design could be viewed as an activity that translates an idea into a blueprint for something useful. Sale Bill Design is a process of designing the format of Sale Bill that you will give to your customers. You can design it by your own as per your requirement.
![]() As you Click on the Design button from the main window, a Blank Sheet of Logic Document Editor will appear on your screen with a Menu Bar, Toolbar, Button Bar and Properties as seen below:
As you Click on the Design button from the main window, a Blank Sheet of Logic Document Editor will appear on your screen with a Menu Bar, Toolbar, Button Bar and Properties as seen below:
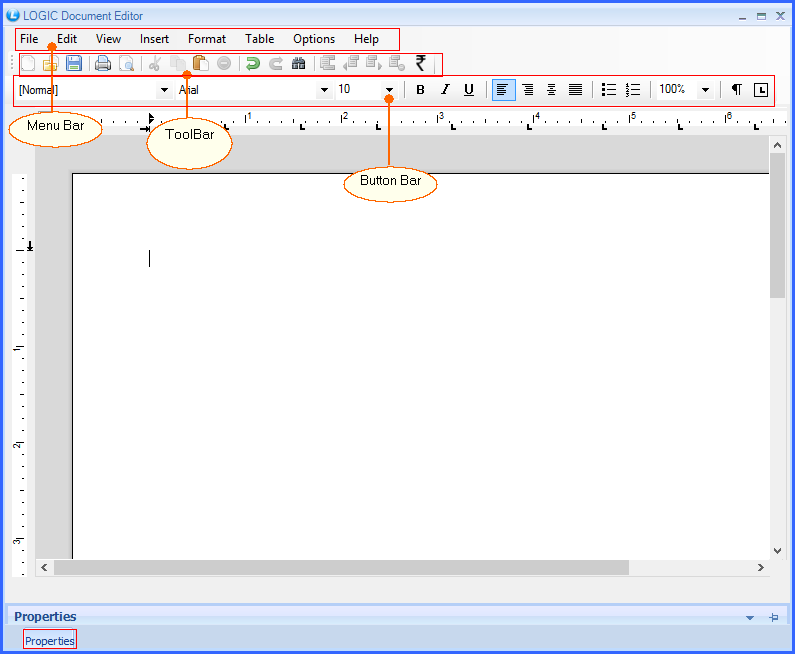
Fig 3. Logic Document Editor
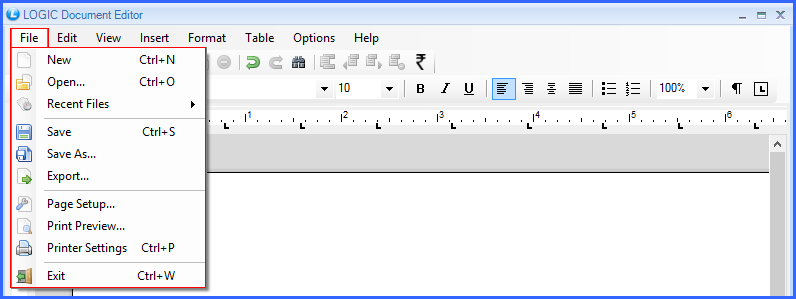
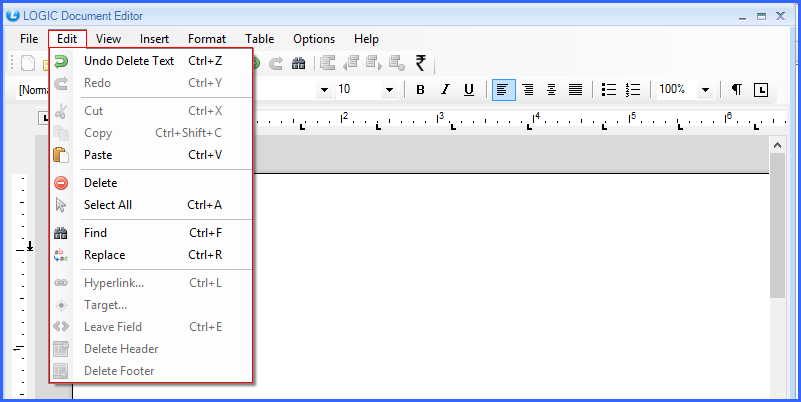
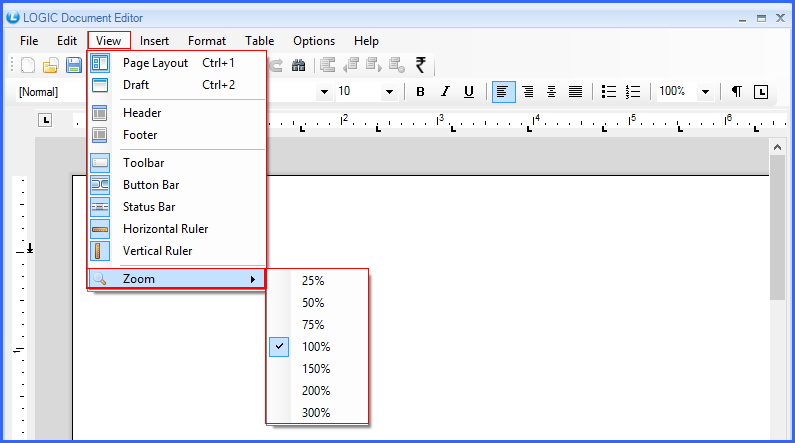
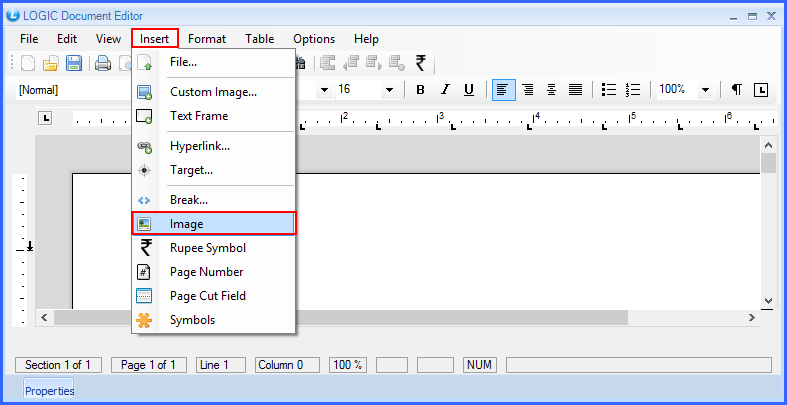
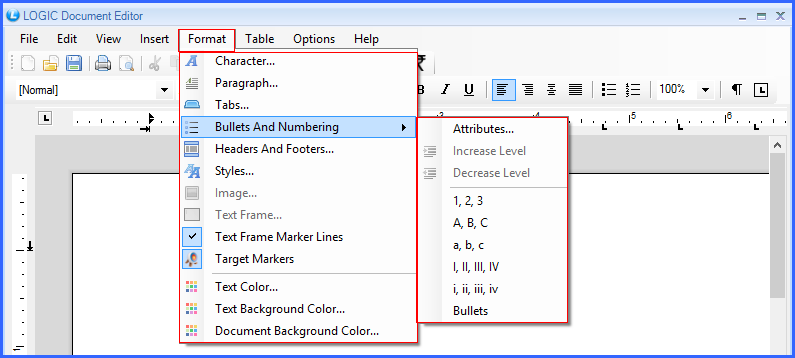
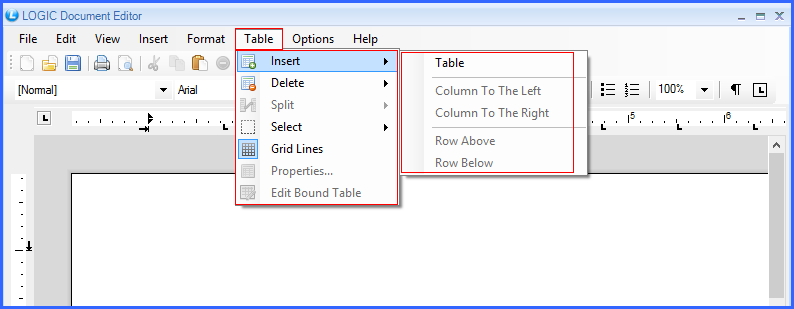
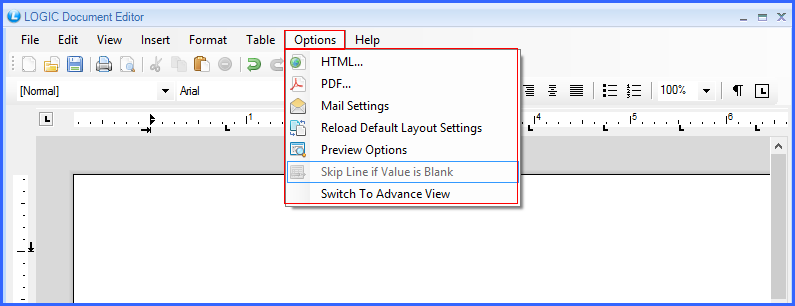
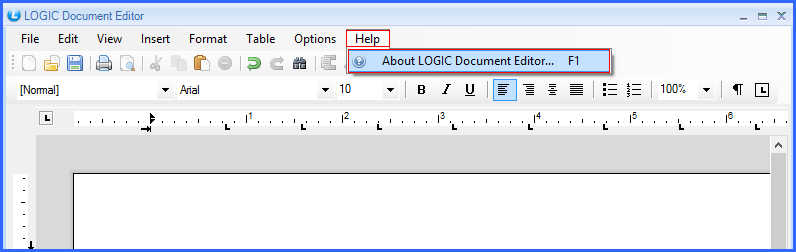
![]() Menu Bar: A menu bar is a row or strip of menu items titles that, when clicked, display drop-down menus of other items or commands.
Menu Bar: A menu bar is a row or strip of menu items titles that, when clicked, display drop-down menus of other items or commands.
|
![]() Click on the Page Setup option from File option in Menu Bar. A window will appear on your screen as Fig 2.
Click on the Page Setup option from File option in Menu Bar. A window will appear on your screen as Fig 2.
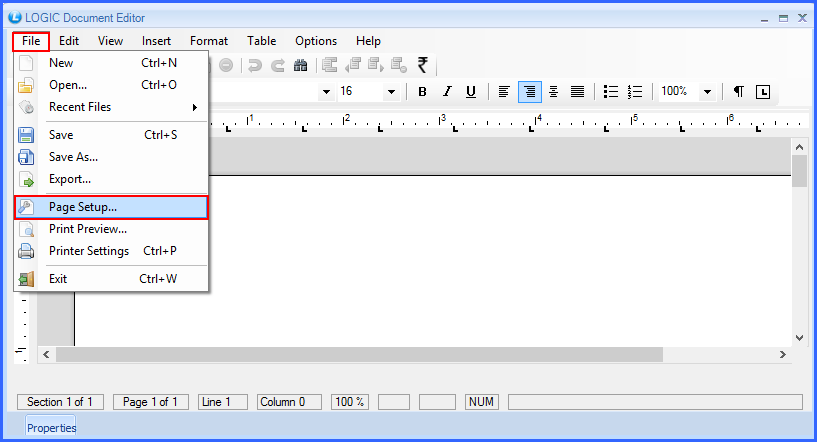
Fig 12. Page Setup
![]() You need to choose the Format of the Print. For Example: A4 size is selected from the list in the Fig 3.
You need to choose the Format of the Print. For Example: A4 size is selected from the list in the Fig 3.
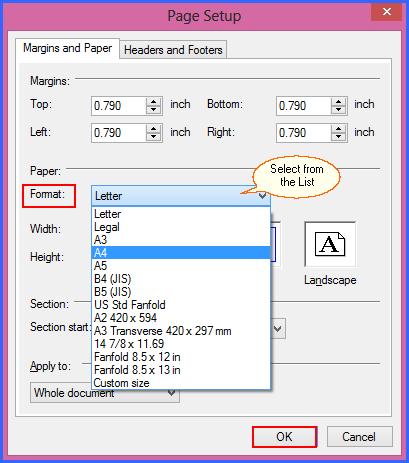
Fig 13. Page Setup Format
![]() Layout of a Sale Bill
Layout of a Sale Bill
1) Header: Header contains text and graphics that is going to be on the top of your Sale Bill. It generally contains Company Name, Address, Logo, Date, Contact Num etc. You can select the fields according to your need and requirements.
2) Item Detail: Item Details section contains all the information about the item. It may contain Item Name, Item Description, Rate, Quantity, Total Price etc. You can select the details according to your requirements.
3) Footer: Footer is the text or graphic that is presented at the bottom of any Sill Bill. It generally contains Signature, email ID, Contact num, Thank you note etc. You may choose these fields according to your concern.
|
It is suggested to use Tables for designing for better look and appearance. |